
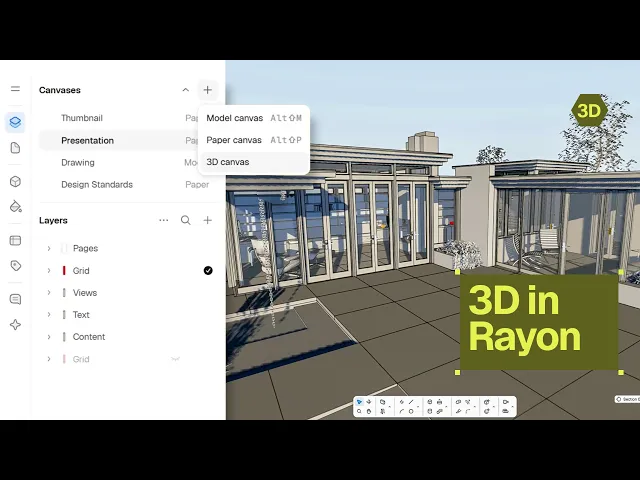
How to model in 3d with levels, sections & elevations in Rayon
Modelling in 3D in Rayon: creating a 3D canvas, drawing walls and openings and attaching walls to levels, plus level views, sections and elevations that update as the model changes.
What you'll learn
Learn how to set up a 3D canvas in Rayon, draw walls, define levels, add level views and sections, and organise 2D and 3D layers in a detailed model.
Creating a 3D canvas
Click the plus button at the top left and choose 3D canvas, which is currently in beta, to enter an infinite 3D environment. Orbit and pan with the scroller while holding shift, or with the pan and orbit options in the bottom toolbar.
Understanding the canvas settings
The layout is similar to a model canvas, with layers on the left and settings and properties on the right. There you can show or hide grids, shadows, levels and sections, switch between orthographic and perspective, change sun direction and height, and adjust tolerance, for example to meters.
Snapping, display and navigation preferences
The bottom right has snapping and its settings, the grid, constraint directions in the active plane, shadows, projection, sections and levels. In the preferences at the top left, switch navigation between mouse and trackpad, change the zoom direction and choose a light or dark appearance.
Drawing walls from the 3D toolbar
The bottom toolbar holds wall openings, levels, sections, shapes, solids, editing tools, AI features and cameras. Select the wall tool to set its thickness, here 0.3, and its 2D and 3D styles, then click points to draw an enclosure.
Working with levels
Levels such as ground floor, first floor or roof level appear as you draw walls. Each level has a height, with the base point at zero, and a selected wall shows its length, alignment and bottom level, here attached to level zero.
Attaching walls to levels
Choose level from the elements in the toolbar and it snaps to the top of the wall as level one at 3 m. Setting a wall's top level to level one means that changing the level height, for example to 3.5 m, moves the attached walls with it.
Adding openings to walls
Windows and doors will be hosted in the walls. There is not yet a 3D library of openings, but plenty are coming soon.
Creating level views from your model
In the canvas panel, click the three dots to add a level view or a section view. A level view shows each level as a 2D drawing that cuts through its walls, and the 2D drawing and the 3D model update together as you work.
Using 3D layers and 2D layers
The left panel has layers and 3D layers. Assign model components to 3D layers, and put 2D annotations, dimensions and tags in the layers tab so they stay out of the 3D view. A level view also has a name, level, offset, cut height and top level.
Adding sections
Choose section in the elements, adjust the axis settings, place it in the 3D environment and point it in the opposite direction. Its position and rotation are adjustable on the right, it appears under the 3D canvas on the left, and its line shows in the level views.
Exploring a detailed 3D model
A more developed model has walls, doors, windows, floor and ceiling slabs and furniture blocks generated with AI, since there is no block library yet. Its section reflects the 3D model and updates when changes are made in 3D.
Checking layers in the detailed section
The 3D layers hold furniture, floor slabs, roofs and walls, while the 2D layers hold only annotations that can be toggled on and off. New layers and 3D layers are created with the plus button, and the ground floor view slices through the model.