
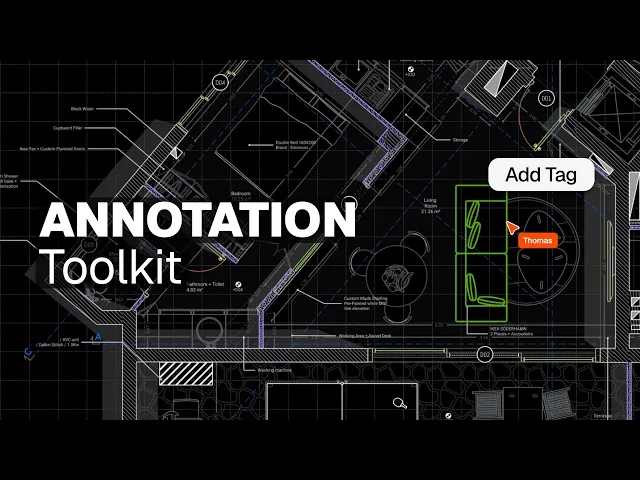
How to add dimensions, text, and tags to drawings in Rayon
All eight annotation tools: dimensions and chains, angular dimensions, leaders, arrows, text, tags, revision clouds and page numbers.
What you'll learn
Learn how to use all eight annotation tools in Rayon to communicate drawing details, dimensions, labels, and revisions clearly.
Add and Style Linear Dimensions
Activate the dimension tool to place single dimensions or a continuous chain by clicking points across elements and dragging to define the offset distance. Use the right-hand style panel to customize text font, color, stroke weight, extension line patterns, and endpoint symbols such as circles, squares, or crosses. You can also specify canvas units, precision, and suffixes, save the settings as a reusable style, and link dimensions directly to drawing geometry.
Measure Angles with Angular Dimensions
Select the angular dimension tool to calculate and display the angle between two intersecting lines on your plan. Click the first and second points along one reference edge, then click two points on the adjoining edge to generate the angle label. Choose between acute or obtuse angle displays, adjust the offset distance, and configure angular precision as needed.
Annotate Details with Leaders
Use the leader tool to draw pointing lines by selecting an element anchor point followed by secondary placement clicks. Type descriptive note text directly at the end of the line, or switch the leader head to an annotation block like a pill head from the block library. You can customize the font, colors, and line angles, or adjust block values to denote specific window or furniture types.
Draw Directional Arrows
Select the arrow tool to place standalone arrowheads without text labels to show circulation, movement, or room entry points. Click the starting and end points on the canvas, then adjust stroke thickness, scaling, and endpoint size in the style panel. You can also toggle the midpoint of the arrow line to form a curved arc and lower the opacity to keep drawing graphics balanced.
Place Formatted Text Notes
Click the text tool and select an insertion point on the canvas to add standalone titles, notes, or room labels. Type your text content and adjust formatting options in the properties panel, including font family, weight, lists, underlines, or center alignment. These text blocks can be freely repositioned anywhere on the drawing to convey general written information alongside graphic symbols.
Assign Zone Properties and Tags
Select a zone or block element, navigate to the zone properties panel, and create custom metadata properties such as floor material finishes or supplier brands. Add a tag tool instance to the zone and select dynamic variables like name, area, and custom properties to display directly on the plan. As you edit room dimensions or change zone property values, the connected tag automatically updates to reflect the new data.
Mark Updates with Revision Clouds
Choose the revision cloud tool to highlight areas of the floor plan that have been modified since the previous issue. Draw the cloud as a predefined rectangle or sketch a custom outline around the revised geometry. You can combine the cloud with a leader note to clearly explain what design modifications were made for the client.
Insert Dynamic Page Numbers
Open the paper canvas containing your configured presentation sheets, views, and layout pages. Click the page number tool and select a specific page to generate an automated numbering label. Rayon detects the sheet sequence automatically and updates page numbers if pages are reordered, copied, or added in the left-hand panel.
Rayon basics
How to Use Canvases, Views, and Pages in Rayon
How to Use and Manage Layers in Rayon
How to Add Dimensions, Text, and Tags to Drawings in Rayon
How to Import DWG, PDF & Image Files
How to Draw Lines, Shapes, and Curves in Rayon
The Rayon BIM Toolkit: Walls, Openings & Zones
PDF Export vs Live Presentation
How to Style Your Drawings and Presentations in Rayon
How to Start & Manage Your Interior Design and Architecture Projects
How to Use Pages to Build & Share Presentations in Rayon
How to Share and Collaborate on Models in Rayon
How to Use, Create and Manage Blocks in Rayon
How to Use the Editing Tools in Rayon
Mentioned in this video
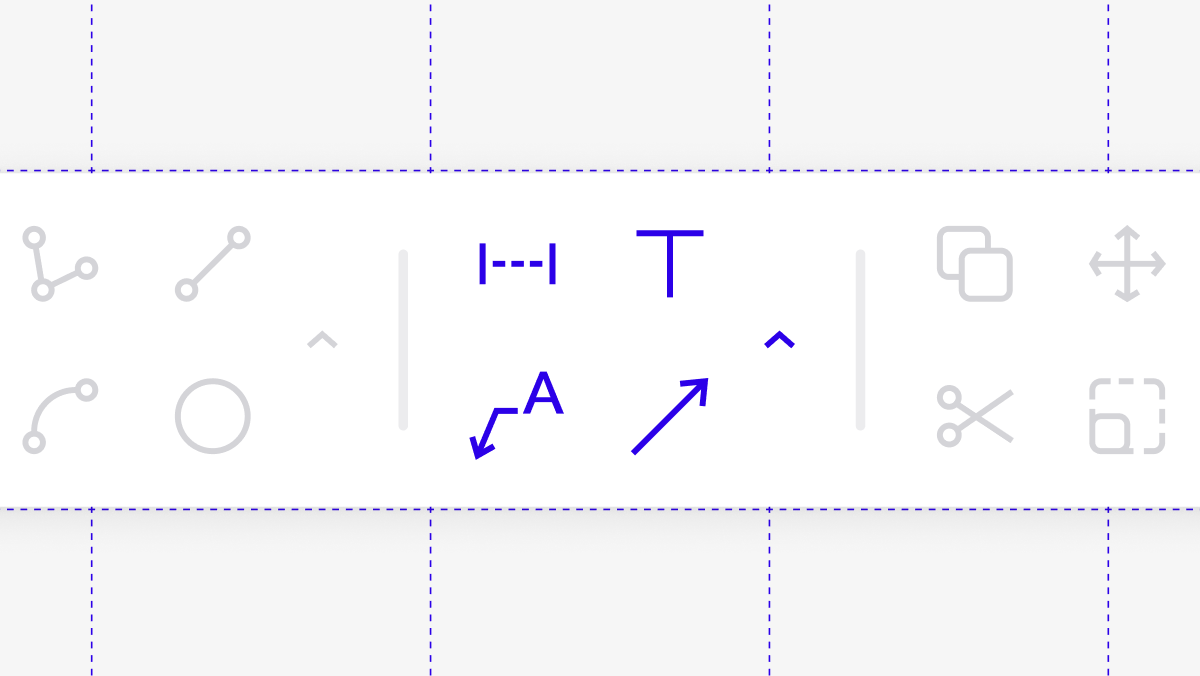
Annotations

Text