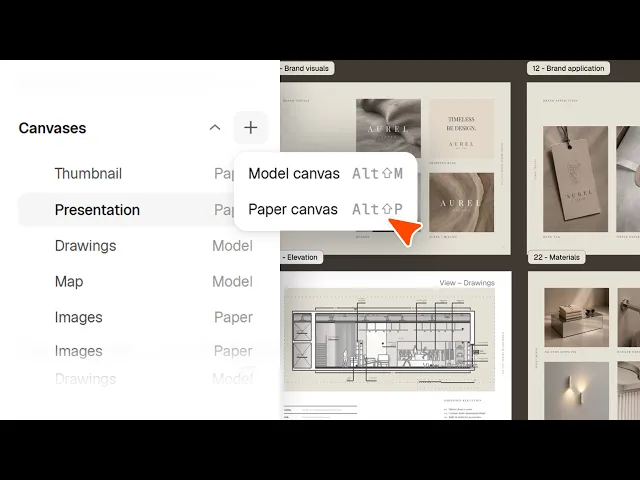
How to use canvases, views, and pages in Rayon
Model vs paper canvas, setting up pages, and creating, cropping, scaling and overriding views so one drawing feeds a full drawing set.
What you'll learn
Learn how to set up model canvases for drawing, paper canvases for presentations, and live views to link the two dynamically in Rayon. This guide covers managing sheet layouts, auto-ordering pages, applying layer and style overrides, and inserting title blocks.
Configure Model Canvas Settings
Open the right-hand panel of the model canvas to configure stroke scale, units, precision, and square meter area. Enable display options like wireframe mode, the background grid, or canvas axes. You can also change the background color to black, gray, or custom tones to enhance drawing visibility.
Adjust Paper Canvas Display and Units
Open the paper canvas to configure presentation settings in the right panel. Set the stroke scale to one so on-screen line weights match printed outputs, and keep units set to centimeters or millimeters. Adjust the canvas background color and toggle the grid or axes to help distinguish pages from the workspace.
Create and Format Presentation Pages
Add a page using the plus button in the left layers panel or via the bottom layout tools. Select the new page to configure its orientation, dimensions, format, and background color in the right panel. Pages organize the presentation slide by slide for PDF export or client sharing.
Reorder Pages Automatically by Position
Open the page panel on the left to review sheet numbering and sequence. Turn on auto order by position at the top of the panel and choose row first or column first ordering. The numbering updates automatically whenever pages are repositioned on the canvas.
Create and Adjust a Model View
In the layers panel, click the plus button and choose view to create a viewport into the model canvas. Select the view and set its scale to 1 to 50 in the right panel. Double-click the view or click edit to pan the content, then drag the borders to crop the view.
Override Canvas Layers Within Views
Select a view and click override at the bottom to access canvas layers on the left side. Toggle specific layers off, such as furniture or annotations, to display only designated drawing information like lighting plans. Overridden layers show a blue indicator icon and can be reset at any time.
Modify View Styles Using Overrides
Enter override mode for a view, select an element, and open the style panel on the right. Adjust visual properties like wall fills or floor finishes without altering the source model canvas. Overridden styles display a blue badge and can be reverted whenever necessary.
Compose Multiple Scaled Views on Layout
Select view from the bottom layout tools and link it to the model canvas elevations. Set the scale to 1 to 25, crop the viewport, and copy it to display adjacent elevation drawings. Arrange multiple viewports at different scales on the same sheet to present key plans and elevations together.
Insert Title Blocks from Block Library
Open the block library on the left and search for title blocks matching sheet sizes like A3 or A4. Insert the title block into the canvas or drag it onto the page. Reposition your drawing views within the title block layout to complete the printable presentation sheet.
Rayon basics
How to Use Canvases, Views, and Pages in Rayon
How to Use and Manage Layers in Rayon
How to Add Dimensions, Text, and Tags to Drawings in Rayon
How to Import DWG, PDF & Image Files
How to Draw Lines, Shapes, and Curves in Rayon
The Rayon BIM Toolkit: Walls, Openings & Zones
PDF Export vs Live Presentation
How to Style Your Drawings and Presentations in Rayon
How to Start & Manage Your Interior Design and Architecture Projects
How to Use Pages to Build & Share Presentations in Rayon
How to Share and Collaborate on Models in Rayon
How to Use, Create and Manage Blocks in Rayon
How to Use the Editing Tools in Rayon
Mentioned in this video
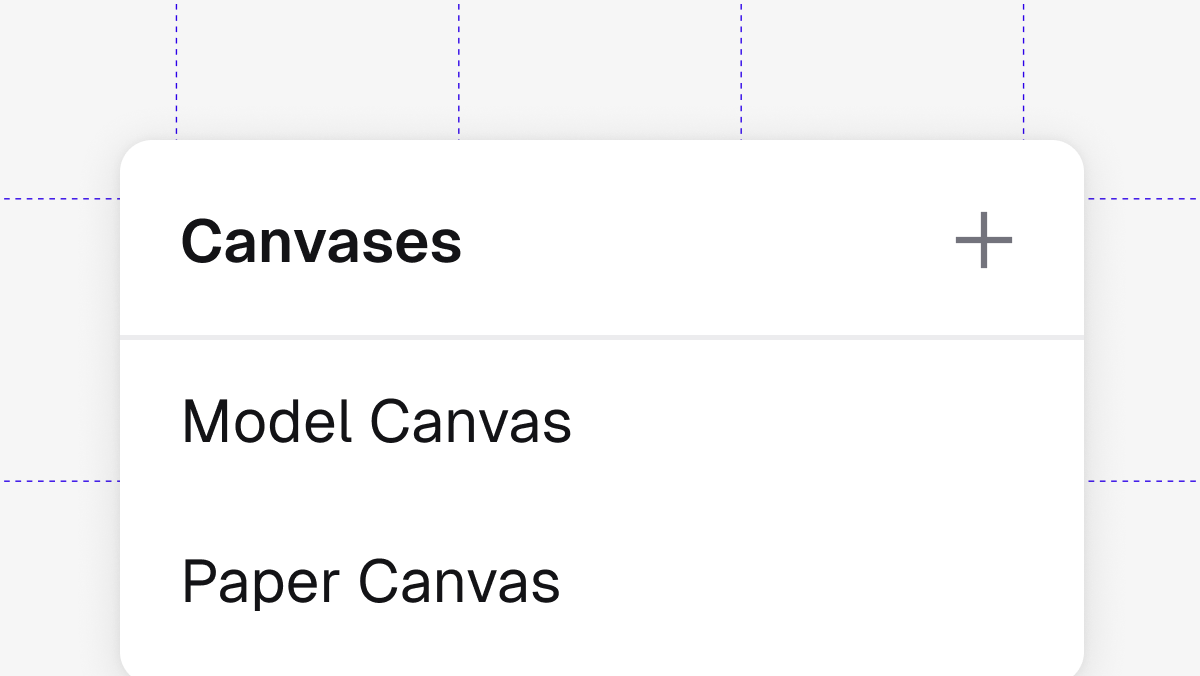
Canvases
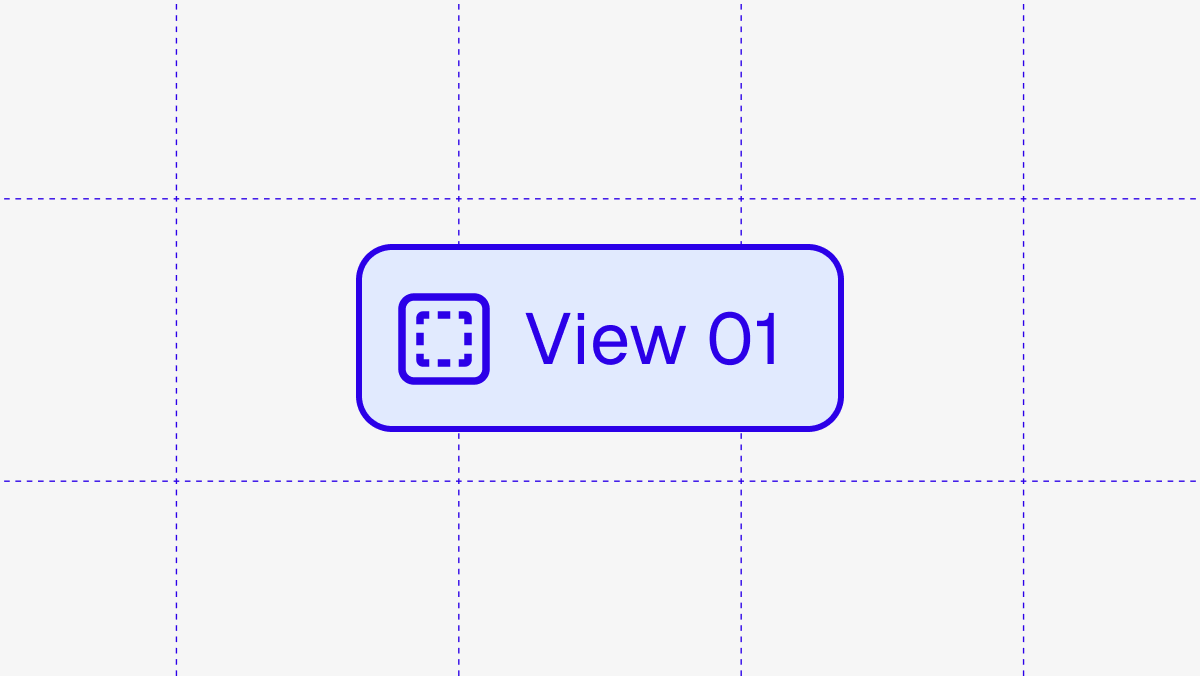
Views