
The AI interior design workflow that changed how I work (Rayon AI)
Turn a vague client brief into a clear feasibility scheme using three AI tools in Rayon.
What you'll learn
Transform an early, vague interior design brief into a presentation-ready feasibility scheme using Rayon and its integrated AI workflow. The process generates initial concept references, converts auction images into floor plan CAD blocks, produces styled 3D axonometric views, and compiles the final drawings onto shareable presentation sheets.
Generate Initial Design References
Open Rayon's AI toolbar at the bottom of the workspace and launch the edit and generate image tool to visualize the client brief. Submit descriptive text prompts targeting modernist styles, timber ceilings, overhanging planes, material swatches, and specific furniture pieces. Capture generated image screenshots within the tool to request iterative prompt modifications, such as converting existing floor textures into terracotta tiles.
Import Auction Furniture Reference Images
Retrieve the reference photographs of the client's requested vintage auction furniture piece from the computer desktop. Bring multiple auction images directly onto the canvas alongside the existing survey floor plan to serve as visual and geometric references. This provides immediate visual context for the project without needing to browse online CAD repositories or manually draft the item.
Convert Furniture Photos to CAD Blocks
Navigate to Rayon's bottom AI toolbar and select the generate block tool to convert the furniture photo into a 2D symbol. Select the imported auction photograph, input the prompt specifying a three seater sofa, and click submit. Once the tool finishes processing, insert the newly generated CAD block into the living room plan and scale it accurately.
Furnish and Zone the Floor Plan
Browse the block library's living room section to drag and drop standard furniture elements, such as coffee tables, plants, and a long bookcase unit, directly into the layout. Insert a rug beneath the sofa and use the arrange menu to send the graphic element to the back. Establish internal living and external terrace zones, applying decorative fills while confirming placement within the layers tab.
Generate 3D Axonometric View from Plan
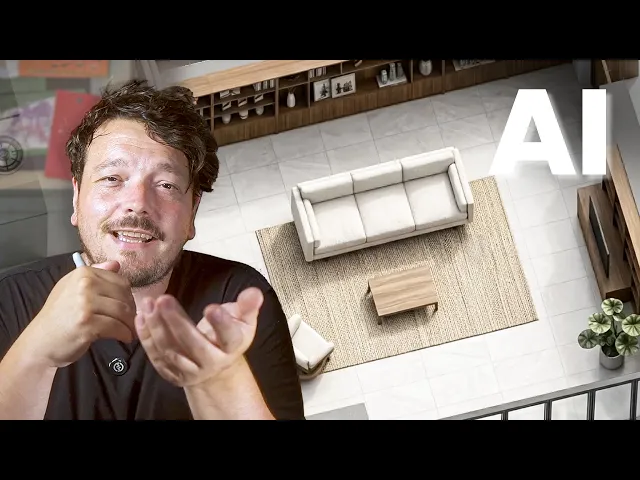
Prepare the 2D layout for three-dimensional visualization by turning off drawing text labels to keep the base drawing uncluttered. Select the axonometric tool from the AI toolbar and drag a selection window over the living room portion of the plan. Type a prompt describing a midcentury modern living room interior with sofa, chair, and shelving to generate an indicative 3D perspective.
Refine and Style the Axonometric Render
Open the edit and generate image tool on the axonometric view screenshot to request specific architectural modifications, such as replacing top glazing with a long shelving unit. Run further AI image prompts to convert the visual output into a realistic render matching the desired presentation style. Select both the auction reference photo and the 3D view to instruct the model to match the sofa design directly.
Assemble and Publish Presentation Sheets
Navigate to the paper canvas tab to assemble presentation layouts across multiple newly created A3 sheets. Add views showing the initial brief, the floor plan set to a 1 to 50 scale, and the axonometric render paired with furniture reference photos. Crop boundaries, apply sketch titles, and open the presentation menu to publish a viewable project link for the client.
Interior design workflows
Architects Can Do Interior Design. Here's What It Took Me to Learn
Why Your Interior Design Project Presentation Doesn't Look Professional (and How to Fix It)
How I Built a Luxury Interior Design Project Presentation (Rayon Template)
How I Go From an Architect's Drawing to a Furnished Interior Floor Plan
Interior Design AI Rendering From Floor Plan to Visualisation in Seconds
9 Tools Every Interior Designer Needs in Your Workflow
From Client Email to Concept Mood Board: My Full Process in Rayon
AI Tools for Interior Designers: Tools That Are Actually Useful
Why Most Interior Design Mood Boards Don't Work (and How to Fix That)
How to Build a Client Ready Presentation (Step-by-step in Rayon)
Restaurant Interior Design Process: Layout, Mood Board, and Presentation in Rayon
How to Draw & Present Multiple Floor Plan Options to a Client (Tutorial)
The AI Interior Design Workflow That Changed How I Work (Rayon AI)
Demolition Drawing Tutorial: Essential Steps for Every Renovation
How to Convince Clients of Your Design Vision (Using Rayon)
How Rayon Replaced My Excel Schedule With a Live Drawing Table (FF&E)
How to Draw Atmospheric Lighting Plans for Client Coordination
How to create FF&E Schedules That Update Automatically with Your Drawings (Tutorial)
How Rayon Made Millwork Drawing 5x Easier (Step-by-Step)
AI Floor Plan Generation: Is it Actually Helpful?
A Contemporary Spin on Millwork Drawings: Client Presentation
7 Common Layout Mistakes & How to Fix Them: Architect’s Advice
How I Built a Minimal Interior Design Concept Deck (Rayon Template)
How to Turn a Site Survey Sketch into a Floor Plan with AI
Animate Your Interior Design Presentations with AI Video (Rayon AI)
How I’d Fix This Georgian Country Home Layout: Architect Reviews
Mentioned in this video
