
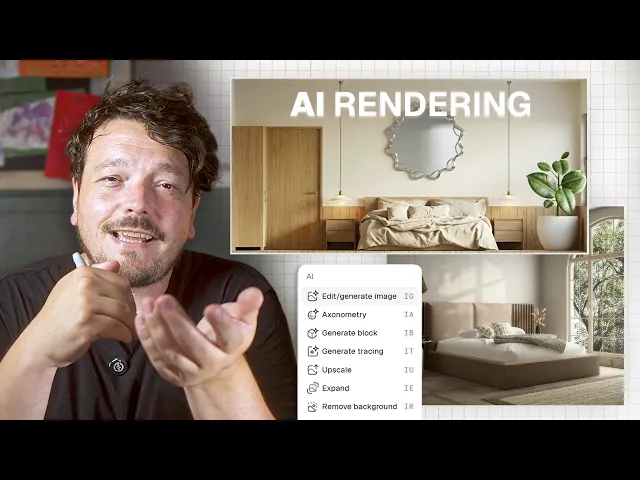
Interior design AI rendering from floor plan to visualisation in seconds
Four AI tools in Rayon: 3D axo from a 2D plan, render from an elevation, material iteration on images, and graphic style transfer.
What you'll learn
Learn how to transform 2D interior design floor plans and elevations into comprehensive visual presentations using Rayon's AI features. This workflow demonstrates creating 3D axonometric views, rendering photorealistic elevations, swapping materials from reference images, and applying stylized graphic filters without constructing separate 3D models.
Generate Axonometric Views From Floor Plans
Open the AI tools from the bottom toolbar on the model canvas and select axonometry. Drag a selection window over your 2D floor plan drawing to establish the boundary. Enter a descriptive text prompt detailing the room spaces, furniture pieces, and adjoining areas to generate a 3D perspective visualization.
Refine Perspective and Render Quality
Select the generated axonometric render and enter a prompt to rotate the view for an improved spatial angle. Submit a subsequent text command requesting a photorealistic style to add depth while preserving the exact drawing geometry. Move the finished axonometric image onto the paper canvas sheet alongside the original technical plan.
Convert 2D Elevations Into Photorealistic Renders
Navigate to an elevation drawing on the model canvas and choose the edit or generate image option under AI tools. Drag a screenshot boundary over the line work to select the entire elevation view. Provide a prompt describing the architectural features, furniture elements, paneling, and decor to produce a textured color elevation render.
Update Wall Finishes Using Iterative Prompts
Open the edit or generate image tool again and take a screenshot of the newly created elevation visualization. Type a prompt requesting specific finish adjustments, such as turning the half-height timber paneling into a darker stained oak. The AI regenerates the elevation render while maintaining the established geometric alignment.
Swap Finishes Using Imported Reference Samples
Import an external reference image of a stone tile directly into the Rayon workspace. Launch the edit or generate image tool and take a screenshot that encompasses both the elevation render and the imported tile sample. Enter a prompt instructing the AI to swap the existing half-height paneling for large format stone tiles.
Replace and Adjust Furniture With Product References
Paste a reference photo of a target furniture item, such as a timber-framed mirror, onto the canvas. Use the AI tool to capture the elevation alongside the product image and prompt the model to replace the current mirror with the framed sample. Issue a follow-up text prompt to reduce the size of the swapped mirror by half.
Apply Graphic Styles With Stylize Tool
Select the stylize tool from the AI panel to alter the presentation aesthetic of an existing render. Choose an elevation image and apply artistic presets such as watercolor or freehand drawing to soften the visual permanence for early-stage client discussions. Compare multiple stylization options to determine the appropriate graphic tone for project communication.
Produce Clay Massing Models and Presentation Boards
Select the earlier axonometric view and use the stylize tool to apply a clay effect that emphasizes overall massing over surface materials. Use the option to remove the background, isolating the model geometry for clean sheet assembly. Arrange the plans, massing models, elevations, and stylized watercolor studies together across canvas sheets to create a complete client presentation.
Interior design workflows
Architects Can Do Interior Design. Here's What It Took Me to Learn
Why Your Interior Design Project Presentation Doesn't Look Professional (and How to Fix It)
How I Built a Luxury Interior Design Project Presentation (Rayon Template)
How I Go From an Architect's Drawing to a Furnished Interior Floor Plan
Interior Design AI Rendering From Floor Plan to Visualisation in Seconds
9 Tools Every Interior Designer Needs in Your Workflow
From Client Email to Concept Mood Board: My Full Process in Rayon
AI Tools for Interior Designers: Tools That Are Actually Useful
Why Most Interior Design Mood Boards Don't Work (and How to Fix That)
How to Build a Client Ready Presentation (Step-by-step in Rayon)
Restaurant Interior Design Process: Layout, Mood Board, and Presentation in Rayon
How to Draw & Present Multiple Floor Plan Options to a Client (Tutorial)
The AI Interior Design Workflow That Changed How I Work (Rayon AI)
Demolition Drawing Tutorial: Essential Steps for Every Renovation
How to Convince Clients of Your Design Vision (Using Rayon)
How Rayon Replaced My Excel Schedule With a Live Drawing Table (FF&E)
How to Draw Atmospheric Lighting Plans for Client Coordination
How to create FF&E Schedules That Update Automatically with Your Drawings (Tutorial)
How Rayon Made Millwork Drawing 5x Easier (Step-by-Step)
AI Floor Plan Generation: Is it Actually Helpful?
A Contemporary Spin on Millwork Drawings: Client Presentation
7 Common Layout Mistakes & How to Fix Them: Architect’s Advice
How I Built a Minimal Interior Design Concept Deck (Rayon Template)
How to Turn a Site Survey Sketch into a Floor Plan with AI
Animate Your Interior Design Presentations with AI Video (Rayon AI)
How I’d Fix This Georgian Country Home Layout: Architect Reviews
Mentioned in this video
