
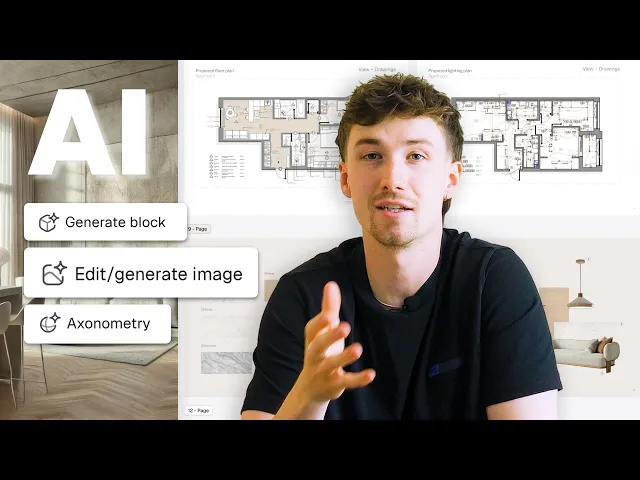
AI tools for interior designers: tools that are actually useful
Three AI tools in Rayon that are actually useful for building client presentations, plus a bonus tool for a common design problem.
What you'll learn
This tutorial demonstrates how to use Rayon's AI capabilities to convert reference images into multi-view furniture blocks, generate axonometric views from 2D floor plans, render elevations with custom material prompts, and upscale low-resolution presentation imagery.
Import Furniture Reference Images onto Canvas
Grab screenshots or product photos of the specified furniture piece directly from supplier websites or mood boards. Pull these captured images onto the canvas and paste them into place. Adding multiple reference photos taken from different angles provides helpful visual context for generating an accurate CAD block.
Run Generate Block on Reference Images
Navigate to the bottom panel and choose the generate block tool. Select one or all of the placed reference photos, then optionally type an additional text prompt such as generate block of this two-seater sofa. Send the prompt off and wait twenty to thirty seconds for the integrated top-down, front, and side views to generate on the canvas.
Clean and Style Generated Block Geometry
Select into the newly generated block to delete stray lines or unnecessary points without removing key features. Click edit on the block to access styling settings, allowing you to modify stroke weights and apply fills to joined geometry. Select a background fill matching the border and fill style used across the project, then position and scale the sofa in the plan.
Generate Axonometric View from Floor Plan
Access the bottom AI tools panel and select the generate axonometric tool. Take a screenshot directly over the two-dimensional floor plan layout and submit it for generation. Within seconds, the tool produces a 3D volume view that accurately reflects the room layout, furniture placement, and surface finishes.
Refine Axonometric Finishes Using Text Prompts
Open the edit/generate image tool and select the generated axonometric image to develop it further. Enter a descriptive text prompt requesting specific adjustments, such as switching the wood flooring to porcelain tiling across defined zones. Generate the iteration to see the updated floor finish applied across the entire three-dimensional drawing.
Generate Renders from Project Elevation Drawings
Select the edit/generate image tool and take a screenshot of an architectural elevation drawing from the canvas. Enter a prompt describing the desired atmosphere, such as rendering the elevation with a sage green background. Adjust the render style to hyperrealistic to quickly transform two-dimensional technical line drawings into compelling visual presentations.
Prompt Material Iterations Using Reference Samples
Select the host elevation render and type a prompt specifying targeted material changes, such as applying a wood finish to the cupboards. Capture a screenshot of a physical material reference or swatch to inform the AI model. Submit the prompt with the reference image to re-render the cabinetry with an accurate dark oak finish.
Upscale Low-Resolution Graphics on Canvas
Locate a low-resolution client reference photo or website image pasted onto the presentation canvas. Click the upscale tool from the menu to initiate resolution enhancement. Within seconds, the tool sharpens and upscales the graphic into a crisp, high-resolution visual ready for client review.
Interior design workflows
Architects Can Do Interior Design. Here's What It Took Me to Learn
Why Your Interior Design Project Presentation Doesn't Look Professional (and How to Fix It)
How I Built a Luxury Interior Design Project Presentation (Rayon Template)
How I Go From an Architect's Drawing to a Furnished Interior Floor Plan
Interior Design AI Rendering From Floor Plan to Visualisation in Seconds
9 Tools Every Interior Designer Needs in Your Workflow
From Client Email to Concept Mood Board: My Full Process in Rayon
AI Tools for Interior Designers: Tools That Are Actually Useful
Why Most Interior Design Mood Boards Don't Work (and How to Fix That)
How to Build a Client Ready Presentation (Step-by-step in Rayon)
Restaurant Interior Design Process: Layout, Mood Board, and Presentation in Rayon
How to Draw & Present Multiple Floor Plan Options to a Client (Tutorial)
The AI Interior Design Workflow That Changed How I Work (Rayon AI)
Demolition Drawing Tutorial: Essential Steps for Every Renovation
How to Convince Clients of Your Design Vision (Using Rayon)
How Rayon Replaced My Excel Schedule With a Live Drawing Table (FF&E)
How to Draw Atmospheric Lighting Plans for Client Coordination
How to create FF&E Schedules That Update Automatically with Your Drawings (Tutorial)
How Rayon Made Millwork Drawing 5x Easier (Step-by-Step)
AI Floor Plan Generation: Is it Actually Helpful?
A Contemporary Spin on Millwork Drawings: Client Presentation
7 Common Layout Mistakes & How to Fix Them: Architect’s Advice
How I Built a Minimal Interior Design Concept Deck (Rayon Template)
How to Turn a Site Survey Sketch into a Floor Plan with AI
Animate Your Interior Design Presentations with AI Video (Rayon AI)
How I’d Fix This Georgian Country Home Layout: Architect Reviews
Mentioned in this video
