How I built a luxury interior design project presentation (Rayon template)
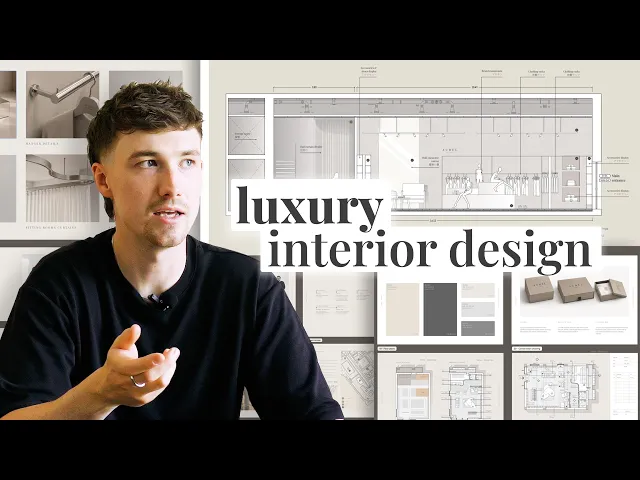
Build a luxury client presentation from Rayon's template: crop and place images, add a live floor plan view, style text, then export as PDF or share a live link.
What you'll learn
Learn how to assemble and present a luxury interior design project in Rayon using a structured template, live drawing viewports from the model canvas, typography styling, and cloud sharing. The guide demonstrates how to populate layouts with imagery, integrate architectural plans, configure page sequences, and publish a live presentation link.
Position and Crop Images in Placeholders
Drag imported project images directly over the layout placeholders on the paper canvas. Use the top corner toggles to scale the images properly without stretching them out of proportion. Double-click into each element to crop the image down to size, making sure snapping is activated so the graphics align neatly with the placeholder frames.
Adjust Image Fill Settings
Select an image on the canvas and open the style panel located on the right side of the interface. Choose the image fill setting to reveal controls for adjusting opacity, exposure, contrast, and saturation. Tweak these visual parameters to align the tone of each photo with the project branding and luxury aesthetic.
Create Drawing Views from Model Canvas
Open the layers panel, click the plus button, and select view to generate a viewport into the model canvas. Set the viewport scale on the right-hand panel to the desired ratio, such as 1 to 100 or 1 to 75. Click directly into the view boundary to pan over to the required section or plan, then crop the perimeter to fit the page.
Duplicate Views and Adjust Title Blocks
Copy the existing drawing view downward on the page, pan to reveal the scale bar, and crop the frame to sit beside the main drawing. Edit the template title block by clicking directly into its components or modifying custom properties in the right-hand list. Live viewports automatically reflect any updates or repositioned text made within the underlying model canvas.
Define and Apply Typography Styles
Create a text heading, then adjust the font family, font color, and text size within the right-hand panel. Click the plus button to save these parameters as a reusable typography style in the project database. Apply that newly created style to other paragraphs or text blocks across the layout by utilizing the pick style toggle.
Set Presentation Page Ordering
Navigate to the pages panel on the left side of the screen to manage the sequence of sheets. Switch the ordering rule between column first or row list to match how presentation boards are laid out on the canvas. Rayon automatically updates and recalculates the page numbering sequence across the sheets according to the selected direction.
Add and Format New Presentation Pages
Access the layers menu, click the plus button, and choose page to introduce an additional presentation sheet. Customize the page size to standard formats such as A3 or A4, modify page orientation, and assign a background fill color using the color picker tool. New pages automatically inherit the established page ordering logic as they are introduced.
Publish and Share Live Presentation Link
Click the share button in the top right corner of the workspace to open distribution settings. Toggle the publish presentation switch to on, then copy the live presentation link to distribute high-resolution interactive views to clients. Whenever changes or page deletions occur on the canvas, return to the share menu and select update to refresh the live client view.
Interior design workflows
Architects Can Do Interior Design. Here's What It Took Me to Learn
Why Your Interior Design Project Presentation Doesn't Look Professional (and How to Fix It)
How I Built a Luxury Interior Design Project Presentation (Rayon Template)
How I Go From an Architect's Drawing to a Furnished Interior Floor Plan
Interior Design AI Rendering From Floor Plan to Visualisation in Seconds
9 Tools Every Interior Designer Needs in Your Workflow
From Client Email to Concept Mood Board: My Full Process in Rayon
AI Tools for Interior Designers: Tools That Are Actually Useful
Why Most Interior Design Mood Boards Don't Work (and How to Fix That)
How to Build a Client Ready Presentation (Step-by-step in Rayon)
Restaurant Interior Design Process: Layout, Mood Board, and Presentation in Rayon
How to Draw & Present Multiple Floor Plan Options to a Client (Tutorial)
The AI Interior Design Workflow That Changed How I Work (Rayon AI)
Demolition Drawing Tutorial: Essential Steps for Every Renovation
How to Convince Clients of Your Design Vision (Using Rayon)
How Rayon Replaced My Excel Schedule With a Live Drawing Table (FF&E)
How to Draw Atmospheric Lighting Plans for Client Coordination
How to create FF&E Schedules That Update Automatically with Your Drawings (Tutorial)
How Rayon Made Millwork Drawing 5x Easier (Step-by-Step)
AI Floor Plan Generation: Is it Actually Helpful?
A Contemporary Spin on Millwork Drawings: Client Presentation
7 Common Layout Mistakes & How to Fix Them: Architect’s Advice
How I Built a Minimal Interior Design Concept Deck (Rayon Template)
How to Turn a Site Survey Sketch into a Floor Plan with AI
Animate Your Interior Design Presentations with AI Video (Rayon AI)
How I’d Fix This Georgian Country Home Layout: Architect Reviews
Mentioned in this video
Templates
Pages
Views