
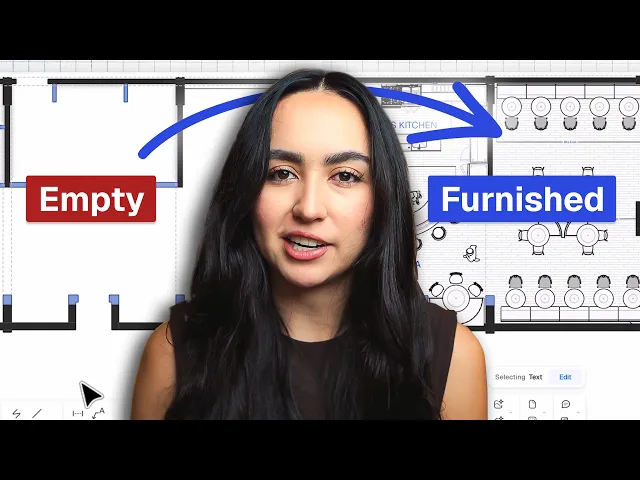
How I go from an architect's drawing to a furnished interior floor plan
Andrea turns an architect's restaurant plan into a furnished layout: bubble diagram for zones, hospitality blocks, floor finishes, then dimensions and annotations.
What you'll learn
This tutorial demonstrates how to develop an architectural floor plan into a furnished restaurant layout using bubble diagrams, block library elements, custom shapes, and zoning. The process guides designers through initial space planning, furniture fitting, flooring placement, and final presentation detailing.
Create Initial Bubble Diagram with Circle Shape
Navigate to the shapes menu and select the circle tool to begin mapping out distinct restaurant zones. Place a circular bubble on the floor plan to define the designated kitchen area. This diagramming step establishes a visual reference to ensure no mandatory programmatic spaces are overlooked.
Add Functional Areas with Distinct Colors
Draw another circle on the drawing canvas and update its color to differentiate it from preceding shapes. Place this bubble near the exterior view to establish the primary bar area where bar stools will reside. Assigning varying colors keeps crucial focal points distinguishable across the overall planning layout.
Define Seating Zones and Circulation Paths
Place additional bubbles along the walls to designate built-ins, booths, and varied seating arrangements for different party sizes. Review circulation clearances to verify that staff and visitors can move easily between all dining areas. Establishing these spatial boundaries guarantees operational accessibility before placing actual furniture elements.
Duplicate Layout and Access Block Library
Duplicate the floor plan to preserve the original bubble diagram as an ongoing spatial guide. Open the block library panel and apply a filter to show commercial hospitality assets. Search through the collection of over four thousand blocks to select suitable restaurant furniture.
Insert and Modify Furniture Blocks
Drag and insert selected furniture blocks into their assigned zones across the interior floor plan. Use the modify options to flip blocks into their correct orientation against the walls. Continue adding additional seating units or loose furniture arrangements to complete the dining spaces.
Draw Custom Benches and Adjust Fills
Draft custom built-in benches directly on the plan along the perimeter walls. Modify the fill settings of the drawn bench shapes to make the graphic tone lighter or darker. Replicate the bench drafting and fill adjustments across the opposite wall for visual symmetry.
Create Flooring Layer Using Zone Tool
Set up a new layer specifically dedicated to floor finishes across the restaurant. Activate the zone tool and click once to generate the flooring surface within the room boundaries. Select an appropriate floor type and send the flooring layer to the bottom so furniture blocks remain clearly visible on top.
Incorporate Human Figures Dimensions and Annotations
Place human figures within the dining areas to provide immediate visual context and convey realistic scale. Add dimension strings across key architectural spaces to communicate accurate room proportions. Include annotations and labels across the layout to produce a finished, presentation-ready interior plan.
Mentioned in this video
Blocks
Layers
Annotations
Related videos
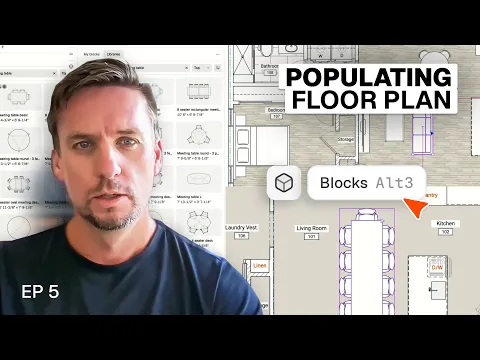
How I populate a floor plan to show how a space actually works
A floor plan with nothing in it tells a client where the walls are.
Architects can do interior design. here's what it took me to learn
The line between architecture and interior design is blurrier in practice than it appears from the outside.
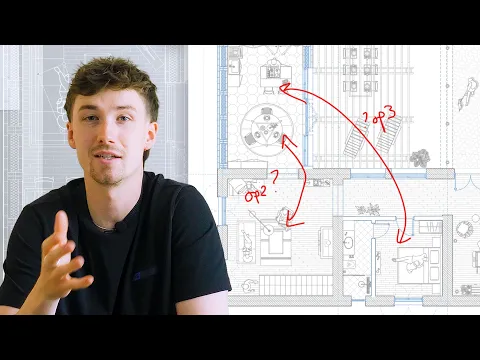
How to draw & present multiple floor plan options to a client (tutorial)
See the final design proposal for a barn conversion project located on the south west coast of England.