Starting an ADU renovation: from brief to drawing setup
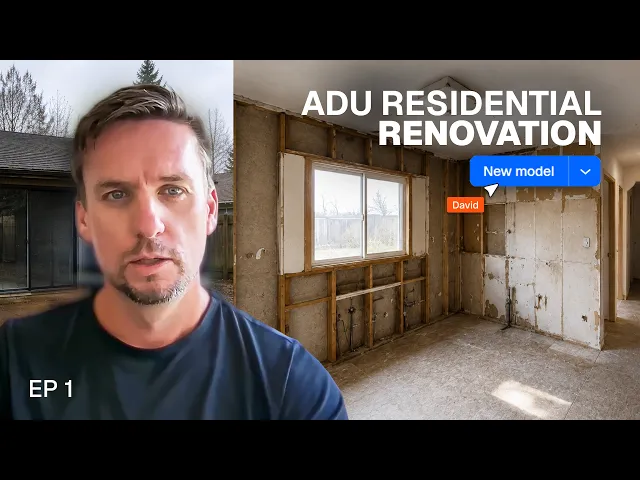
Episode 1 of the series: the brief and drawing setup for a California ADU renovation that infills a patio while keeping the existing structure.
What you'll learn
Learn how to set up an architectural renovation project in Rayon by creating models, organizing paper and model canvases, configuring drafting settings, and saving custom templates.
Navigate Personal Space and Workspaces
Access your personal account or open a professional workspace from the account menu. Workspaces allow you to manage team access permissions across active projects, libraries, and templates. Team members with access can collaborate in real time with visible live cursors.
Create a Blank Model
Start a fresh project from scratch using the new model button in your personal space. Opening an empty model provides completely blank model and paper canvases with no preconfigured layers or pages. This blank slate serves as an alternative to launching projects from pre-existing templates.
Start from a Built-in Template
Browse sample projects under the templates section and open an option such as the beach house drawings. Click duplicate when prompted to start drawing from the template in a new project tab. The duplicated file saves under your models, allowing full editing of pages and canvases.
Organize Model and Paper Canvases
Open the canvases panel on the left to structure drawing sets across paper and model spaces. Use paper canvases for presentation sheets, grid layouts, and title blocks, while dedicating separate model canvases to distinct drawing types like floor plans, elevations, sections, and details. Multiple floor levels or plans can be stacked directly within a single model canvas.
Configure Object Snapping Settings
Locate the magnet icon in the bottom right corner of the interface to toggle snapping on or off. Open the snapping menu to specify alignment criteria such as perpendicular lines, endpoints, center points, or edges. Enabling these settings ensures precision when drafting lines and aligning structural elements.
Set Drawing Canvas Units
Navigate to the properties panel on the right side of the screen to adjust measurement units per canvas. Select feet and inches for overall floor plans and elevations, or switch to inches for detailed interior drawings to prevent unwieldy dimension text. When working on paper canvases, matching canvas units ensures viewport scales display in familiar architectural formats.
Adjust Stroke Scale for Previews
Set the stroke scale in the model canvas properties panel to anticipate your planned drawing output, such as one-quarter inch equals a foot. This setting adjusts line weights and dash scales on full-scale model geometry to preview their plotted appearance. Changing the stroke scale dynamically updates visualization thickness to match the final scaled output.
Manage Layers and Visual Hierarchy
Open the layers list beneath canvases to inspect drawing objects, subfolders, and elements like furniture or zones. Reorder layers directly in the list to control spatial stacking hierarchy, placing items like flooring beneath furniture or tucking stools under countertops. Clicking elements directly on the drawing highlights their respective position in the layers list.
Share Project as a Template
Preserve organized canvases, plot sheets, styles, blocks, and layer structures by sharing the completed setup as a template. Checking this option makes the project accessible from the template dropdown menu when launching future projects. This setup streamlines initial design work by avoiding repetitive setup tasks.
Inside a residential renovation: from brief to final drawing set
Site to Drawing: My Exact Workflow for Existing Conditions
Starting an ADU Renovation: From Brief to Drawing Setup
How I Populate a Floor Plan to Show How a Space Actually Works
How to Create a Demolition Plan and Proposed Layout in Rayon
From Client Brief to Concept Sign-Off: My Rayon Process
How to Show Wall Types, Materials and Shadows in Your Drawings
Mentioned in this video
Setup
Creating a new project