
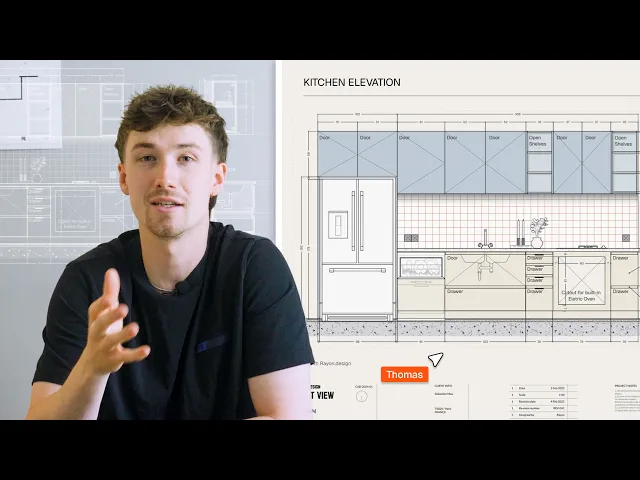
How Rayon made millwork drawing 5x easier (step-by-step)
Turn a basic millwork DWG into a presented drawing set: clean the import, add blocks, dimensions and tags, set line weights, and place it on a title block.
What you'll learn
Transform an imported millwork DWG file into a fully annotated, styled, and client-ready presentation package entirely inside Rayon. The process covers geometry cleanup, block insertion, dimensioning, custom graphic styling, and sheet composition across model and paper canvases.
Import and Clean the DWG Base
Navigate to the top left corner to import the millwork DWG file into Rayon. Verify the drawing scale by selecting two reference points to check the measured distance before continuing. Clean up unwanted geometry and adjust existing fills or line strokes using the style panel on the right.
Insert and Manage Component Blocks
Create a new layer on the left side to properly control object stacking order. Open the block navigation tool to browse or search for fixtures such as cooktops and sinks, then drag and drop them onto the canvas. Toggle between front, top, and side views for each instance, and reorder layers so blocks sit properly relative to drawing lines.
Add Dimensions Using the Chain Tool
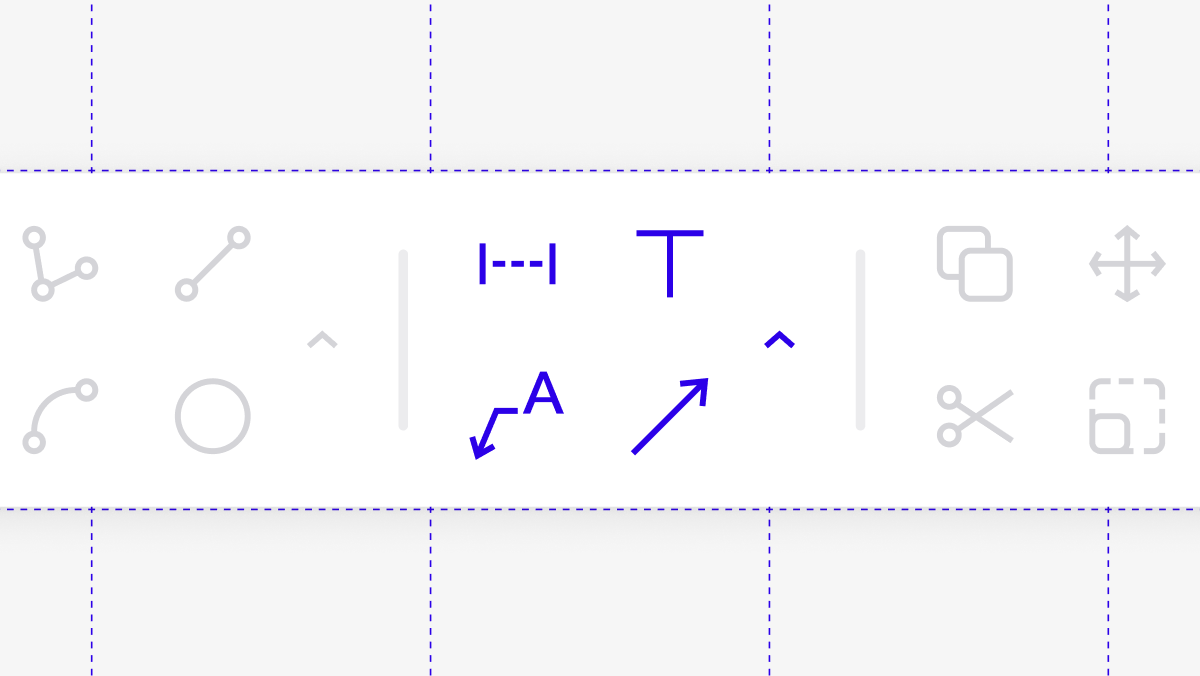
Access the annotation tools at the bottom of the interface and configure font, size, text color, and endpoints in the right-hand panel. Place single dimensions by clicking between two distinct points on the millwork geometry. Switch the dimension toggle from single to chain mode to run continuous dimensions across multiple cabinets in one efficient pass.
Insert Leaders, Text, and Section Blocks
Place leader annotations by selecting an endpoint, clicking a second placement point, and entering descriptive text notes. Use simple text callouts to clarify specific features such as cabinet doors across the elevation drawings. Bring in section cut indicators from the block library and click directly into the tags to override line labels as needed.
Apply Material Styles and Fills
Select geometry and open the style panel on the right to choose fill types like solid colors, gradients, hatches, or tiles. Use the pick style icon to sample material swatches and textures directly from an on-canvas palette or mood board. Save configured appearances with the plus button so that changes automatically propagate to every assigned drawing element.
Add Insulation Batting Along Center Lines
Turn on the center line snapping feature at the bottom of the workspace to accurately draft through the wall core. In the stroke section, assign a batting pattern typically used for wall insulation and scale it up to two times its default size. Add textured fills to adjacent wall layers to clearly define construction assemblies such as plasterboard or masonry.
Set Up Paper Canvas Viewports
Switch from the model canvas to the paper canvas layout template using the navigation control in the top left. Create viewports into the model canvas, set drawing scales such as 1:20 or 1:50, and crop viewport boundaries around relevant views. Place the viewports alongside title blocks, and customize text fields or key plans directly on the sheet.
Incorporate Reference Images and Remove Backgrounds
Drag and drop product photos or finish references onto presentation pages to build visual mood boards. Select an imported image and activate the remove background option in the right panel to isolate foreground fixtures. Right-click images to arrange their layer position to the front and position them neatly beside drawings and material schedules.
Publish and Update a Live Presentation
Click share in the top right corner, switch to presentation mode, and enable the toggle to generate a live shareable link. Whenever drawing elements or layout images are revised in the project, return to the share menu and click the blue reload button. This instantly refreshes the published presentation so clients always view the most recent updates without manual re-exporting.
Mentioned in this video
Importing
Blocks
Annotations
Styles
Related videos
How Rayon replaced my excel schedule with a live drawing table (FF&e)
FF&E schedules that live in a separate spreadsheet are always one design change away from being out of date.

How to build a client ready presentation (step-by-step in Rayon)
Turn a finished drawing set into a client-ready presentation, without leaving Rayon.