
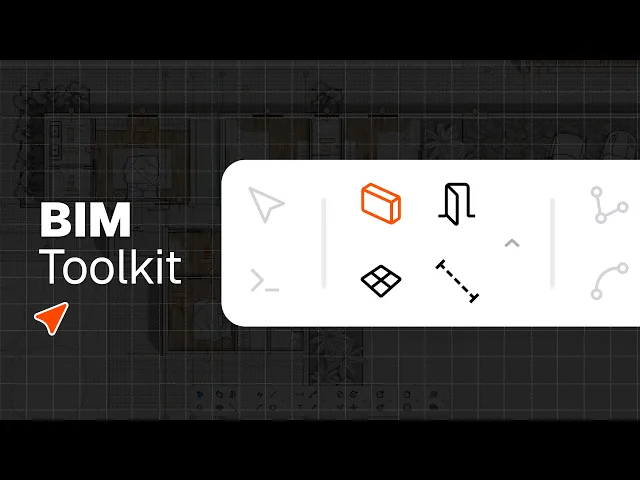
The Rayon BIM toolkit: walls, openings & zones
Draw walls and set their thickness and alignment, place doors and windows from the openings library, and create and split zones in one click.
What you'll learn
Learn how to use Rayon's BIM toolkit to draw and style walls, insert hosted doors and windows, and establish automated zone enclosures. This guide walks through configuring wall styles, drafting linear and curved geometry, placing openings, and calculating room areas with tags.
Configure and Draw Wall Elements
Select the wall element from the bottom BIM elements bar and choose whether to draw a straight line or a curved line. In the right-hand panel, adjust your wall properties including thickness, stroke weight, opacity, and fill options such as solid colors, patterns, textures, or gradients. Click on the canvas to place a starting anchor point, then drag your cursor or enter a manual distance to set the wall length along the axis.
Save and Assign Wall Styles
Click the plus button in the right panel to save your configured wall settings as a reusable style across the project. Any adjustments made to a saved style's thickness, color, or fill pattern immediately update all wall elements currently linked to that style. To apply a style to existing geometry in your floor plan, select the walls, click pick style, and choose the target style from the list.
Align and Connect Wall Segments
Begin drafting walls across your floor plan and press S to switch the alignment line between interior and exterior edges. Rayon automatically attaches new wall segments to existing walls in the drawing to form clean, connected intersections. You can also select existing wall elements on the canvas to pull, extend, or rotate them to adjust layouts.
Edit Wall Geometry and Curved Elements
Use editing tools to modify walls by typing a numerical offset distance or applying a chamfer to selected wall corners. Draw curved walls directly in arc mode by selecting two points and defining the angle, or pull the midpoint of an existing straight wall to create a curve. Alternatively, draw a curved polyline, offset it by the wall thickness, close the ends with cap lines, join the elements, and right-click to convert the shape into a wall.
Host and Position Wall Openings
Select the openings tool to insert a default door block that automatically hosts directly into an existing wall. Adjust the opening's dimensions such as width, height, and scale in the right-hand panel, or drag the element along the wall to modify its offset position. To place windows or alternative door styles, access the active block in the top-right corner, browse the libraries, and place the chosen component into your wall.
Create and Customize Enclosed Zones
Drop a zone into a space enclosed by walls to automatically detect the boundary and apply an annotation tag showing the room name and square meter count. Select wall openings to verify or adjust the zone limit line, ensuring zone boundaries and schedules remain accurate if doors or windows are moved. Customize the space in the right panel by renaming the room, formatting tag text, and adding floor finishes like solid fills, textures, or hatches.
Divide Zones or Draw Manually
Use the zone divider tool to partition an open space into distinct sub-zones without building physical wall partitions. If an area lacks surrounding walls, draw a zone manually by clicking points to outline a custom enclosed boundary. Double-click inside a manual zone boundary to adjust its vertex points, which automatically recalculates and updates the displayed area measurement.
Mentioned in this video
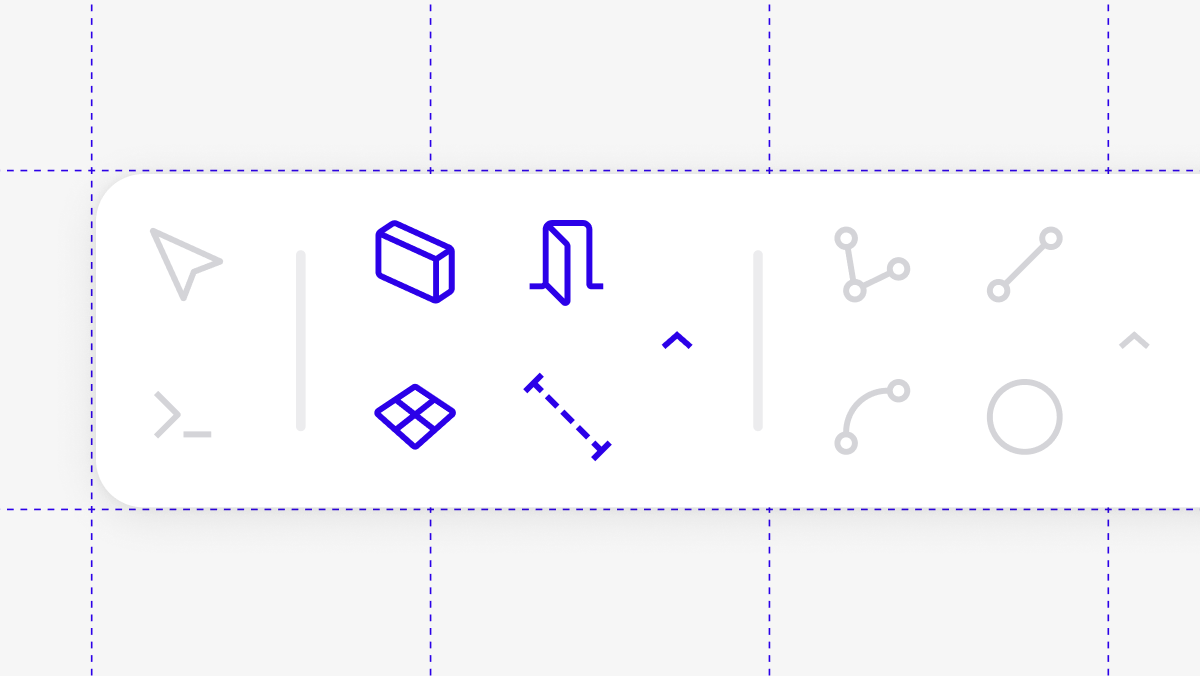
Elements
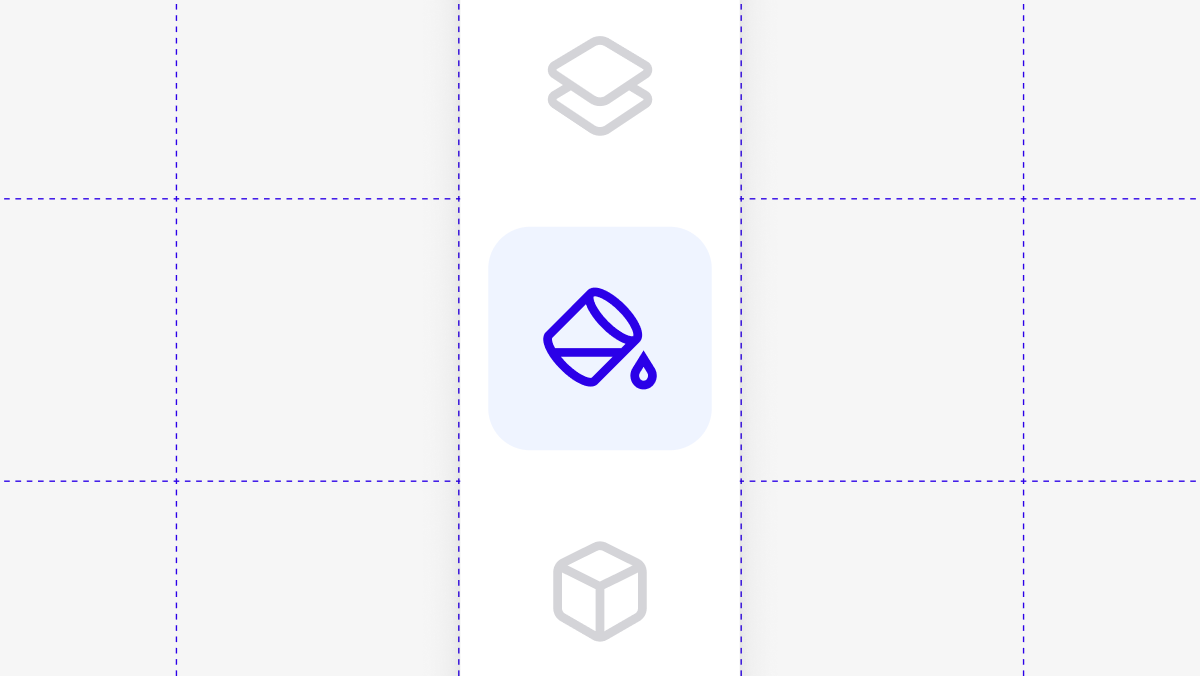
Styles
Related videos
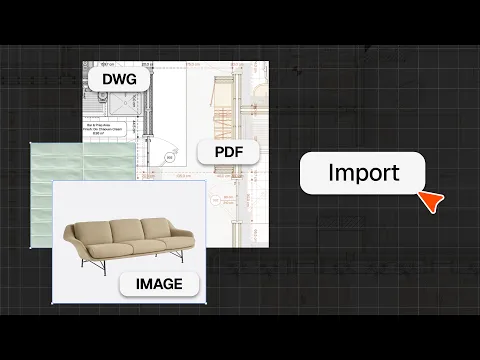
How to import DWG, PDF & image files
Bring DWG, PDF and image files into Rayon and start drawing on top of them.
PDF export vs live presentation
Knowing how to share your work is just as important as the work itself.
How to add dimensions, text, and tags to drawings in Rayon
A drawing without annotation is just geometry.