
Exporting & template set up
Set up views and layer overrides, export to PDF, PNG, DWG or DXF, share live links, and build reusable templates, title blocks and style libraries.
What you'll learn
Learn how to organize paper canvas pages, configure and override drawing views, export DWG and PDF files, collaborate in real time, and build reusable workspace templates with metadata-driven title blocks in Rayon.
Add Pages to Paper Canvas
Navigate to the paper canvas to organize sheets and presentation drawings. Select the page option from the bottom menu to either draw a custom page boundary or select a standard paper size like A3 or A4. Duplicate or generate additional pages as needed to establish the full drawing set.
Insert and Adjust Drawing Views
Click on the view option located under pages to create a viewport and designate which model canvas to display. Pan and zoom inside the view to orient the drawing, then set an explicit scale such as 1 to 200 using the scale command on the right panel. Crop the boundary to fit the sheet and duplicate views at different scales to display specific close-up details.
Override View Layers and Styles
Select an existing view and click override to modify layer visibility or display styles independently from the original model. Hide or unhide layers such as furniture to generate separate plans, like construction or furnishing drawings, from the same model source. Switch to style overrides to adjust stroke widths with millimeter precision in the style panel for different drawing scales.
Export Drawing Geometry to DWG
Switch to the specific model canvas that contains the geometry you want to export. Open the main menu, choose export, and select DWG to initiate the file preparation. Configure advanced export settings for images and textures if needed, then click download once the file is ready.
Export Drawing Sets to PDF
Return to the paper canvas and open the page panel on the left to review or reorder your sheets by dragging and dropping. Select all pages or individual sheets, then click export to open the export dialogue. Set the file name, choose between PDF and PNG formats, configure quality options, and export the file directly to your desktop.
Publish and Share Live Presentations
Open the share menu in a model where you have owner permissions and select the presentation option to generate an online viewer link. This generates a browser-based presentation that behaves like an interactive PDF viewer for external stakeholders. Whenever changes are made to the drawing, refresh the presentation link so clients continuously view the synchronized project.
Collaborate Using Comments and Annotations
Invite teammates to the project as editors, admins, or viewers by entering their email addresses. Select the comment tool to place comments directly on the canvas, tag team members, and post messages. Use the annotation tool to draw markups directly on the drawing canvas to communicate edits in real time.
Add Metadata to Title Blocks
Insert a title block from the block library onto the canvas and select its text fields to inspect existing properties. Add custom properties by clicking the plus button, setting the property name, and defining the input type as text. Edit the title block, place text, and click add variable to link the text directly to the custom property.
Save Model as a Workspace Template
Once your title blocks, styles, and block components are finalized, click the share button at the top of the interface. Open the template tab and toggle the template setting on to convert the model into a reusable workspace template. Future projects can then be started directly from this template via the new model interface.
Mentioned in this video
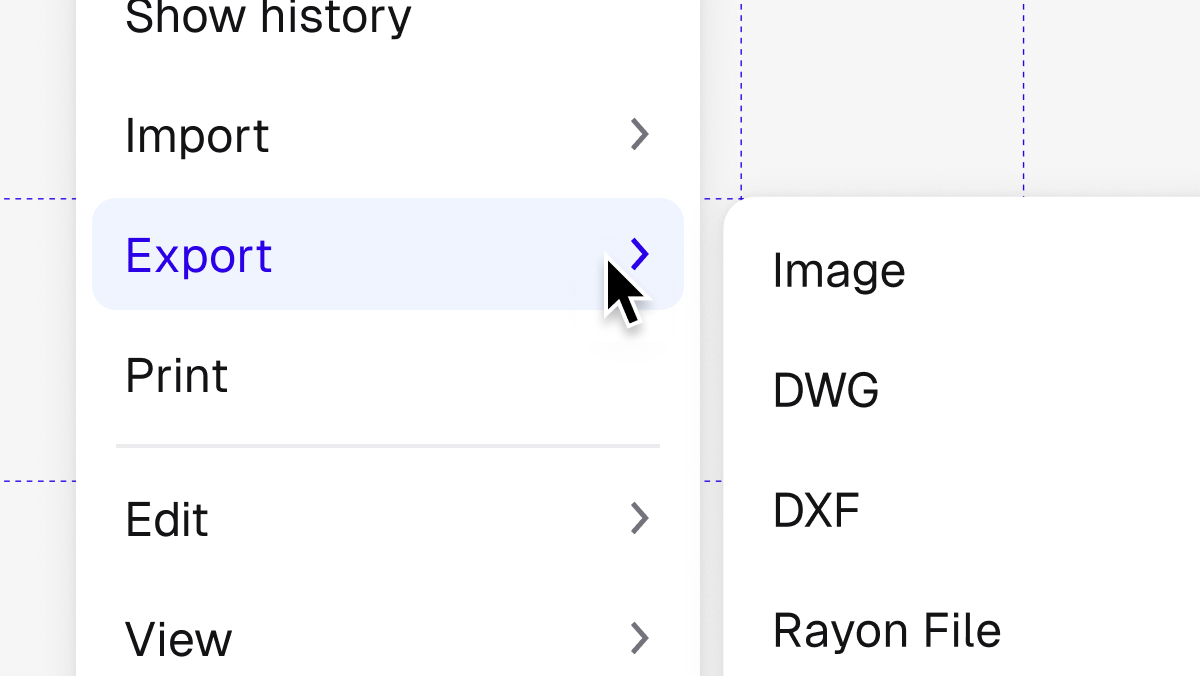
Exporting & printing
Templates
Related videos

How to draw atmospheric lighting plans for client coordination
Lighting is one of the most important layers in any interior project, and one of the least documented.