
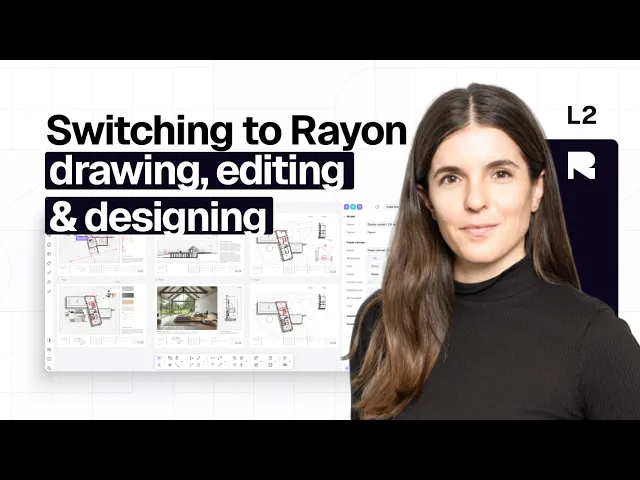
Drawing, editing & designing
Edit imported DWGs with familiar CAD commands (polyline, offset, trim, array), then speed up drafting with walls, openings, zones, styles and Rayon's block library.
What you'll learn
Learn how to edit imported DWG drawings in Rayon by utilizing vector line editing, smart light beam features, custom style libraries, and versatile CAD block workflows. This tutorial covers drawing reactive walls, organizing styles, generating AI blocks, and producing synchronized schedule tables.
Editing Vector Lines and Running CAD Commands
Double-click any imported vector line on the canvas to display, add, or remove individual vertices as needed. Use the vector drawing toolkit to draft new entities including polylines, standard lines, and rectangles directly in the workspace. Modify your drawing layout using familiar CAD commands such as offset, trim, array, divide, and break.
Drawing Parametric Walls with Light Beam Tools
Select the wall tool from the light beam tool stack to generate reactive wall entities instead of disconnected vector lines. Specify numeric thickness values such as ten or twenty centimeters and customize fill styling in the properties panel. Press the S shortcut key during placement to quickly flip and adjust the center line direction of the wall.
Placing Openings and Creating Smart Enclosed Zones
Choose the opening tool from the light beam stack and place a door along a wall entity to automatically cut an opening. Click the zone tool inside a closed wall enclosure to automatically detect room boundaries and generate an instant square meter calculation tag. Use the zone divider tool across open plans to cleanly designate multiple functional zones within a single enclosure.
Customizing Entity Styles and Saving Model Libraries
Select an entity or right-click to select similar items across the project, then adjust stroke widths, colors, and solid fills in the style panel. Click the plus button to save and name the configured style so it is added to your model style library. Any subsequent modification made to a saved style instantly updates all associated entities across the entire canvas.
Applying Hatches, Realistic Textures, and Surface Materials
Select walls or surfaces to apply patterns from the built-in hatch libraries, adjusting scale, stroke color, and background fills. Explore alternative fills including solid colors, smooth gradients, and realistic materials like concrete, grass, and tiles, or import bespoke materials. Reorder layers within the occlusion-based layer panel to ensure surface fills do not obscure essential underlying drawing geometry.
Browsing and Placing Blocks from Block Library
Navigate to the find blocks tab to access thousands of pre-scaled top, front, and side view CAD blocks for plans and elevations. Search using keywords or browse curated libraries, then drag and drop items with built-in fills straight onto the floor plan. Edit block placement by double-clicking or switch representations between top, front, and side views directly within the block definition panel.
Generating Custom Blocks Using AI Tools
Expand the CAD commands chevron on the bottom toolbar and choose the generate block tool to open the creation dialog. Type a descriptive prompt or upload a reference image to automatically generate synchronized top, front, and side vector representations. Insert the generated vector block into your drawing canvas, remove source images, and apply fills or styles to match your design.
Assigning Block Properties and Generating Schedules
Select a placed block or a library item to configure custom instance properties like price, brand, material, links, or images. These defined metadata properties automatically stay attached whenever components are dragged from libraries into active project models. Deploy the table tool to instantly generate synced furniture schedules or specification tables that stay completely aligned with canvas components.
Mentioned in this video
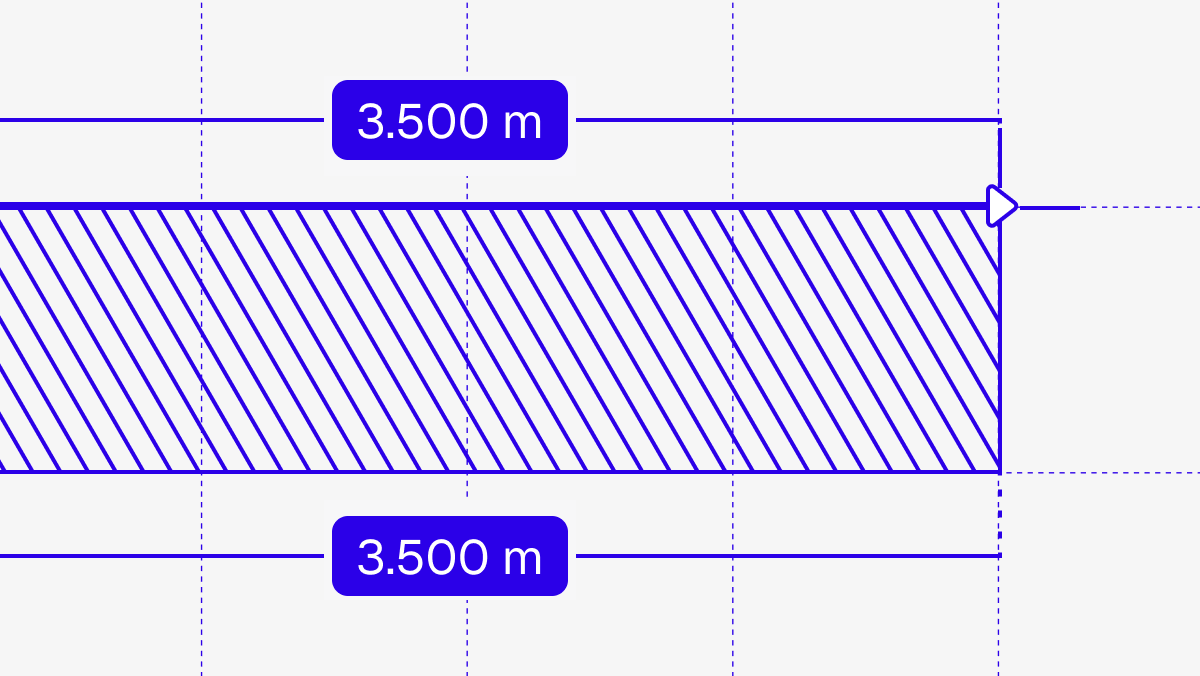
Drawing tools
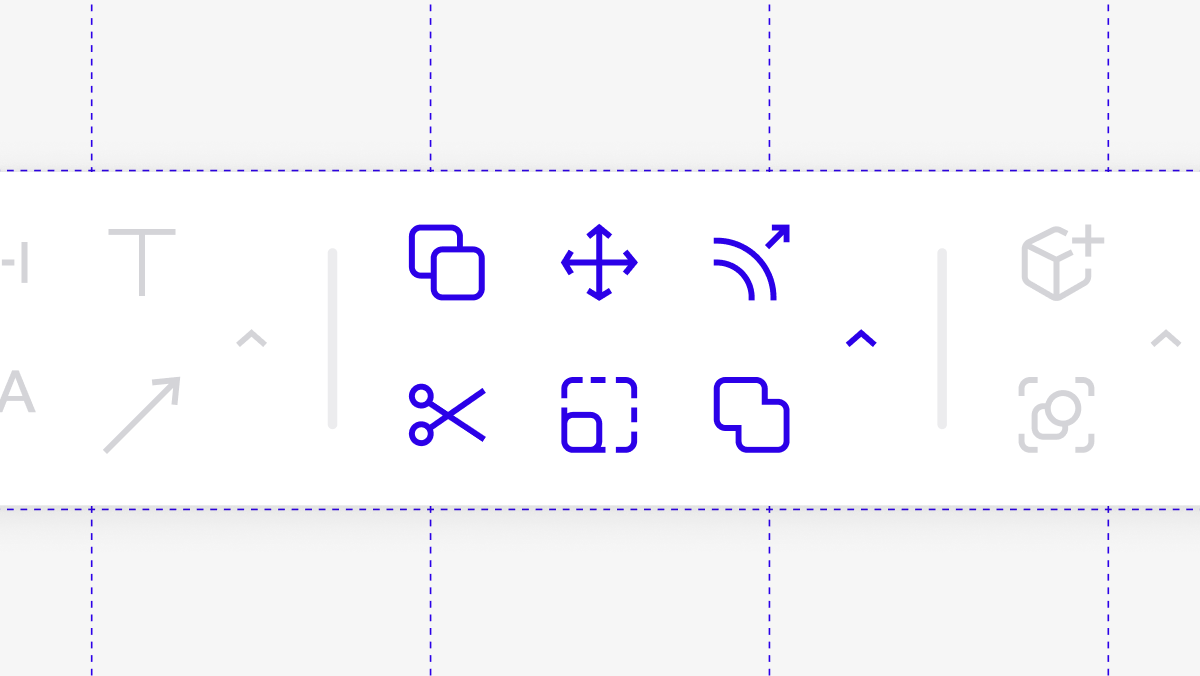
Editing tools
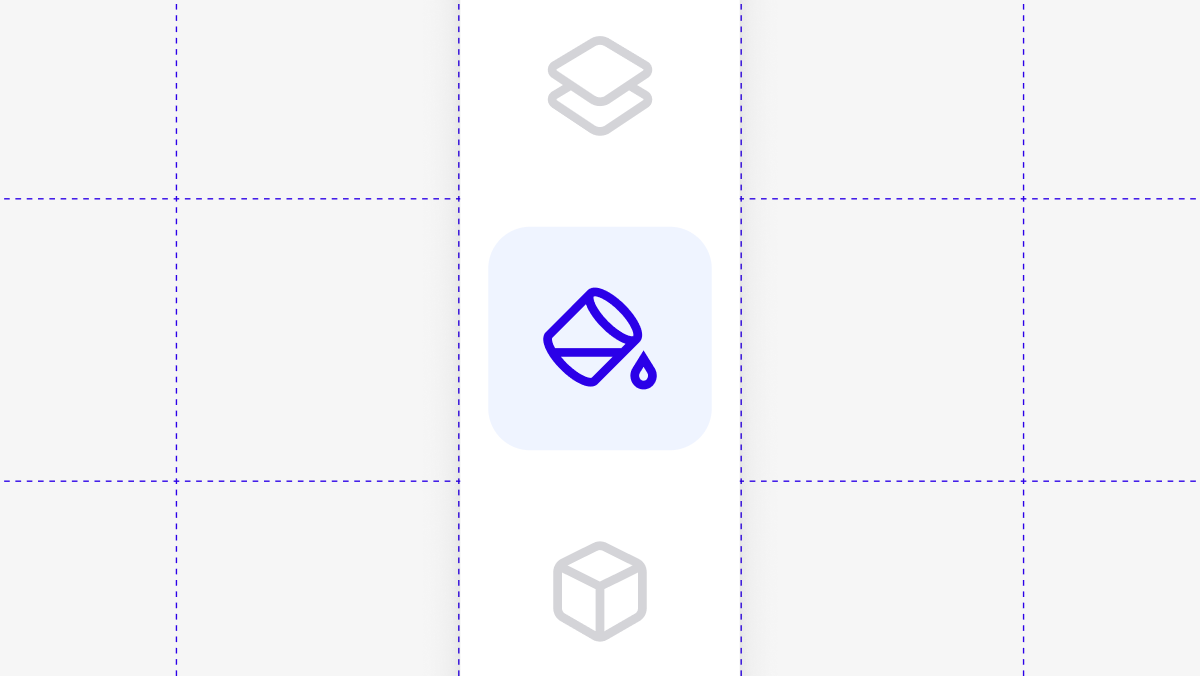
Styles
Related videos
The AI interior design workflow that changed how I work (Rayon AI)
Bridge the gap between a vague client brief and a clear feasibility scheme.
How to add dimensions, text, and tags to drawings in Rayon
A drawing without annotation is just geometry.

Site to drawing: my exact workflow for existing conditions
Before any design work can begin, you need to know exactly what's there.