
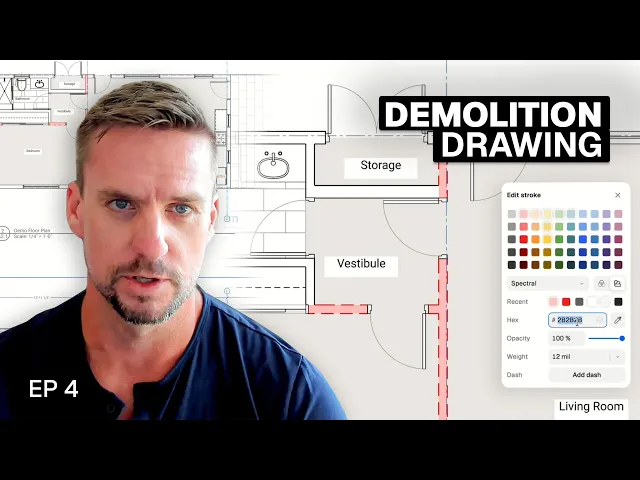
How to create a demolition plan and proposed layout in Rayon
Show what stays, what's demolished and what's new: proposed layout, demolition wall styles, view overrides for the demo plan, and partial demolition.
What you'll learn
Learn how to draft a proposed layout and generate a demolition plan in Rayon by duplicating existing floor plans, customizing wall and zone styles, applying paper canvas view overrides, and splitting walls for selective removal.
Duplicate the Existing Plan for Proposed Options
Copy the existing floor plan drawing downward into a designated border area to begin schematic revisions. Rename the duplicated drawing title to proposed option one to maintain clear drawing organization. Delete unnecessary elements from the copied plan, such as old zone dividers and kitchen fixtures, to clear space for the new layout.
Draft Proposed Layout Walls and Doors
Copy existing wall segments or draw horizontal walls to establish new partition layouts without worrying about final styles initially. Extend and trim wall intersections as needed to frame out the new interior rooms. Insert interior doors into the newly created walls and flip door swings to ensure correct orientation.
Define and Save Proposed Wall Styles
Select a newly drawn wall and detach its current style to configure custom graphic properties. Set the fill to an oblique compact hatch with a solid white background fill, adjust stroke color to gray, and decrease line thickness. Save this appearance as a new wall style titled new wall and assign it to remaining proposed partition walls.
Establish Room Zones and Match Formatting
Switch to the zones layer and activate the zones tool to define boundaries for the newly configured room layouts. Use the style picker to copy formatting and label properties from existing zones onto newly placed zones. Open the zone properties to remove the default square footage indicator if matching simplified existing labels.
Build a Dedicated Demolition Wall Style
Select an existing wall slated for removal and detach its existing graphic style to prepare a demolition preset. Change the interior fill to a light red color, set the border stroke to a solid red, and enable a dashed line pattern. Save these graphic adjustments as a demo style so it can be directly applied to other demo walls in the model canvas.
Create Demolition View Overrides on Paper
Navigate to the plot sheets tab and duplicate the existing plan viewport upward to create a separate demolition drawing sheet. Select the copied viewport and enter view override mode, which allows visual modifications without changing underlying model geometry or thickness. Select target interior walls within the view and assign the demo wall style to display them with dashed red graphics.
Apply Style Overrides to Exterior Walls
Enter the viewport override settings again and select thicker exterior walls designated for removal. Assign the single demo wall style to the exterior perimeter walls to apply the red dash graphics while preserving original wall thickness. Exit override mode to view the independent demo plan displayed directly adjacent to the untouched existing plan.
Divide Partial Demolition Walls Using Break
Return to the model canvas floor plan and select any wall where only a portion is scheduled for demolition. Access the edit tools menu, select the break command, and click along the wall to define the split location. Align the separated segments, reposition any displaced doors, and assign individual styles to each wall section on the plot sheet.
Mentioned in this video
Styles
Views
Related videos

Site to drawing: my exact workflow for existing conditions
Before any design work can begin, you need to know exactly what's there.

Starting an ADU renovation: from brief to drawing setup
Welcome to the Inside a Residential Renovation: From Brief to Final Drawing Set series.
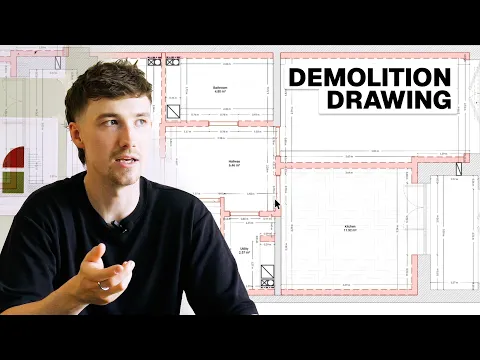
Demolition drawing tutorial: essential steps for every renovation
See how to modernise a 1980s apartment through sustainable architecture and interior design practices.