
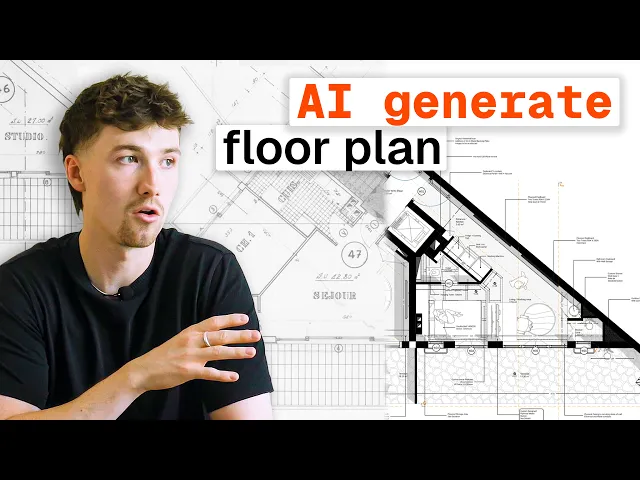
AI floor plan generation: is it actually helpful?
A test of AI floor plan generation in Rayon: converting archive drawings and sketches into editable plans, then cleaning up, furnishing, styling and annotating the results.
What you'll learn
This tutorial demonstrates how to import an archive floor plan image into Rayon, scale it accurately, and use the AI generate plan tool to convert it into editable vector geometry. Viewers will also learn how to clean up geometry, style walls and zones, populate the layout with furniture from the block library, and add tags and annotations.
Import Archive Drawing
Navigate to the top left-hand corner of the model canvas to import an archive drawing as an image, PDF, or PNG file. In this demonstration, a corner Parisian apartment archive drawing is imported onto a new canvas to serve as the reference geometry.
Scale Image to Real Dimensions
Change canvas units from meters to centimeters to match the French archive drawing, then select the image and activate scale. Click two known reference points on the pixelated drawing, type in 185 to resize the drawing to a true one-to-one scale, and return canvas units to meters. Verify the scale by measuring between the reference points using the dimension tool.
Generate Vector Plan Using AI
Open the AI toolkit situated at the bottom of the screen and choose the generate plan feature. Rayon analyzes the image geometry to generate vector walls, openings from the block library, and tagged zones within roughly under a minute. You can optionally add text prompts to guide how the AI interprets the plan layout.
Clean Up Wall Geometry
Inspect the generated walls against the underlying archive drawing to spot walls that sit slightly off-angle or out of alignment. Delete extraneous wall segments and extend remaining walls to ensure they are perpendicular, straight, and structurally accurate. This initial cleanup creates a dependable foundation before introducing further architectural alterations.
Style Walls, Text, and Zones
Right-click a wall and choose select all of that type to update every wall simultaneously on the canvas. Remove the existing stroke, apply a black stroke with increased weight, and fill the wall bodies with solid black. Update the zone finishes and tags by adjusting text size, editing zone fills, or changing surface patterns like setting a terrace fill rotation to 90 degrees.
Place Furniture from Block Library
Open the block library located on the left-hand panel and navigate through room types such as bedroom or living space. Drag individual furniture pieces like beds and wardrobes directly into rooms, rotating or stretching them to fit designated zones. Click into a block to edit its stroke color, updating the assigned style across all related blocks in the floor plan.
Insert Annotations and Zone Tags
Access tags, click variables, and select tag variables such as area and name to label individual apartment rooms. Rename zones on the right-hand panel, reorder tag fields, and modify font sizes to maintain clean drawing hierarchy. Add leaders, text notes, and additional dimensions across the floor plan to clearly convey room arrangements to contractors and clients.
Related videos

How I built a luxury interior design project presentation (Rayon template)
A luxury project deserves a presentation that matches it.
How to use pages to build & share presentations in Rayon
From pages on a paper canvas to a shared presentation.
How to start & manage your interior design and architecture projects
From organising models to setting up a drawing canvas.