
How to render your 3d model in Rayon
Rendering a 3D model in Rayon: setting up cameras and render settings, guiding renders with prompts and image references, plus editing objects, adding people and upgrading to 4K.
What you'll learn
Learn how to set up cameras in a 3D model, render views with AI, refine them with prompts, annotations and image references, and keep renders updated as the scene changes.
Framing a view in the 3D canvas
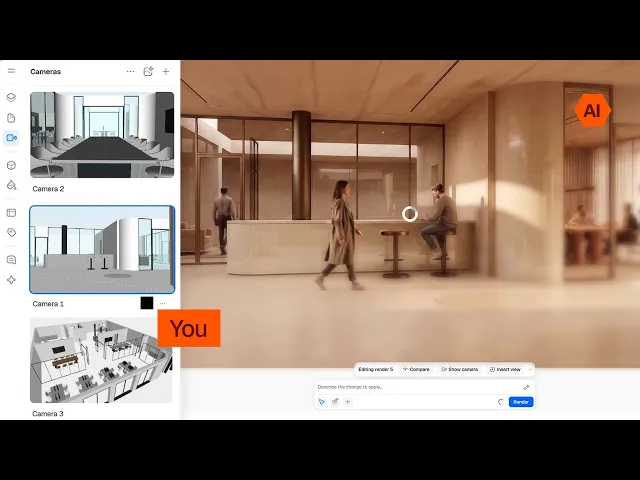
Pan and orbit around the model to frame a view, here looking into a bar entrance with stools. Position the view before setting up a camera to render it.
Creating the first camera
Open the cameras panel on the left and click the plus button. Pan around the scene, change the focal length, walk forwards or backwards, and adjust the view angle and rotation.
Adjusting camera properties and display options
Switch between orthographic and perspective, and use the three dots to show the grid, axes, shadows, level, sections and edges. Focal length is also adjustable here.
Setting aspect ratio, level and height
Pick the aspect ratio of the render, such as one to one, four to three or 16 to 10. Choose the level the camera sits on and its height from it, here 100 cm above level zero.
Choosing render quality, style and lighting
Change the render setting from default to ultra 4K, and pick a style such as watercolor, clay model or sketch. The presenter keeps it photorealistic and styles it afterwards; the lighting environment can also be changed.
Creating and managing more cameras
Cameras are listed on the left, where they can be renamed and organized. Add another by panning to a new view and using either the plus button or the camera toggle at the bottom, then click Done.
Looking through, editing and rendering
Selecting a camera offers looking through, rendering or editing. Looking through moves you to the camera position, edit returns to the editing environment, and render opens the prompt environment.
Prompting with presets and annotations
The stars give preset prompts such as furnish the space, empty the space, add people and lived in. The annotation tool selects an area to change, remove or add elements to, and the plus button attaches an image from your canvas or desktop.
Rendering and comparing with the model
A render takes about 10 to 15 seconds. The compare slider shows how closely the image follows the geometry, and renders can be inserted into a model or paper canvas, or copied and downloaded.
Guiding renders with image references
Attach reference images so the view is re-rendered with their textures, materials and atmosphere, and ask for a ceiling that is not modelled. Then use the detect object tool to select the bar and prompt a glossy bronze finish using an attached image.
Reviewing prompts and upgrading to 4K
Hovering over a render shows the prompts used, which are also saved in the prompt presets. After prompting for people walking through and sitting on a stool, switch to ultra 4K and render again.
Updating renders when cameras move
Selecting a render shows its camera, and a notice appears when the camera has moved since the last render so it can be re-rendered. The small block cameras in the 3D model can be moved, which changes the view they create.
Related videos
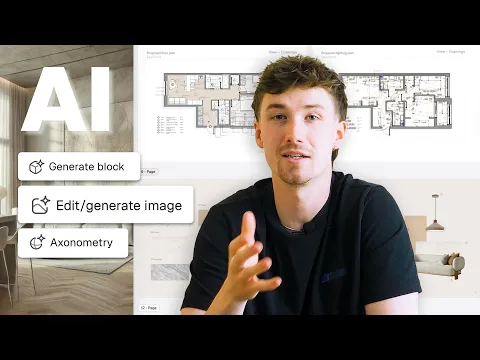
AI tools for interior designers: tools that are actually useful
AI is changing a lot of things in design practice.
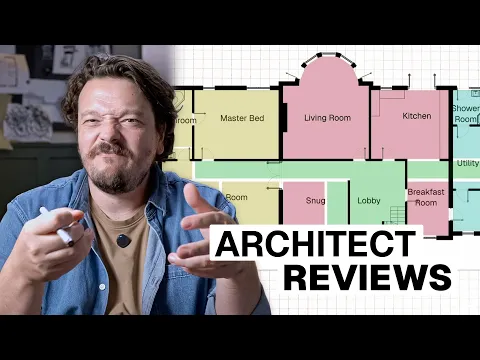
How I’d fix this georgian country home layout: architect reviews
From an existing Georgian home layout to a revised plan.